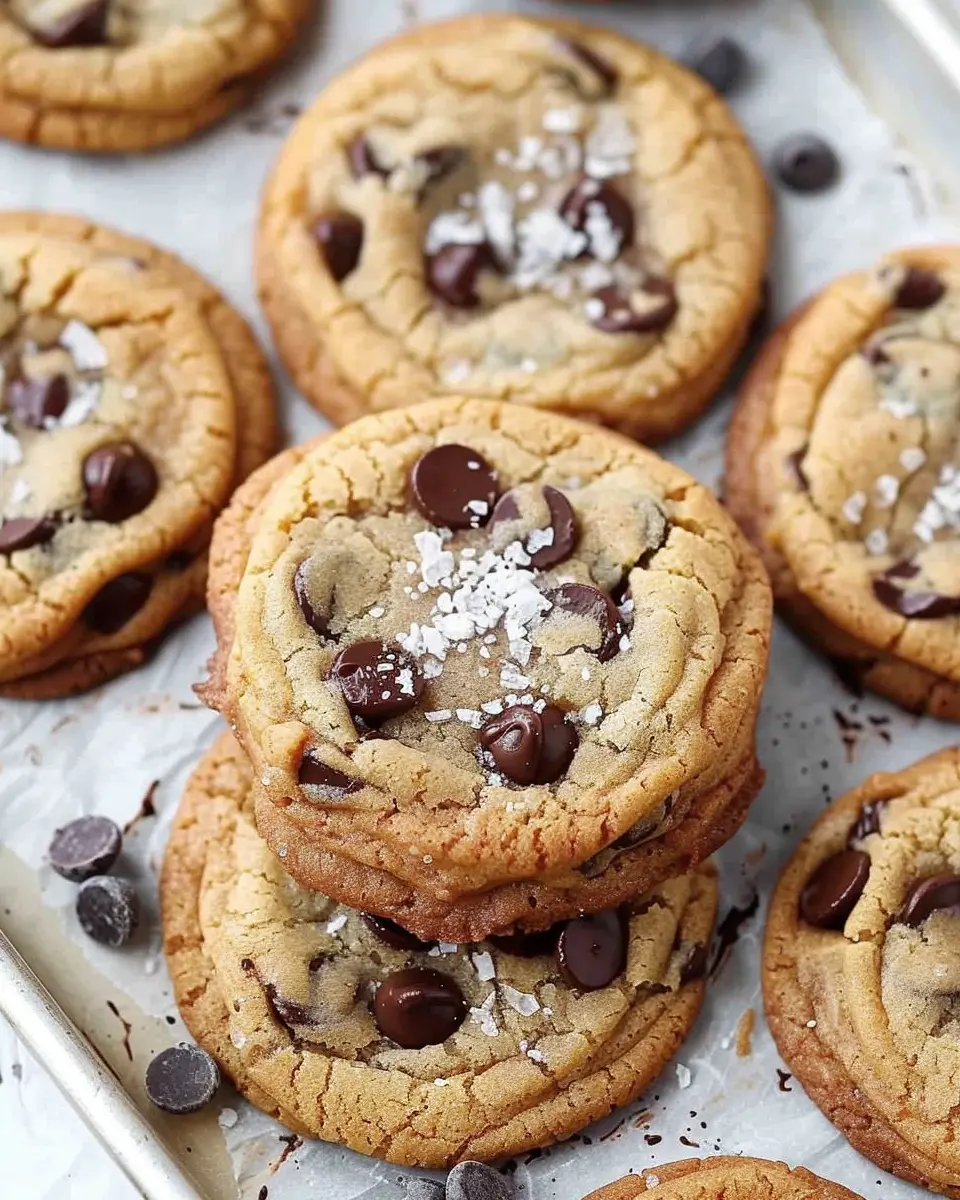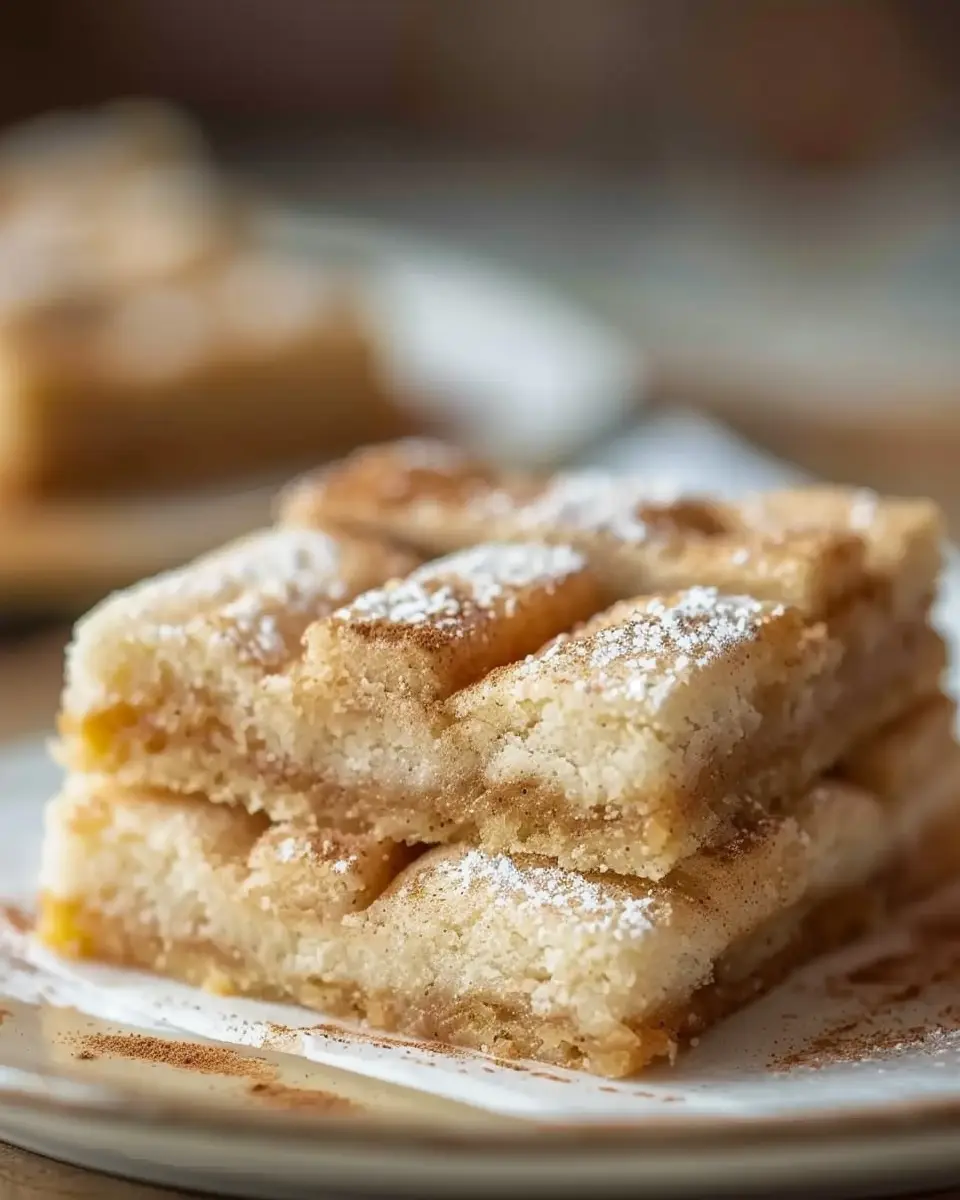

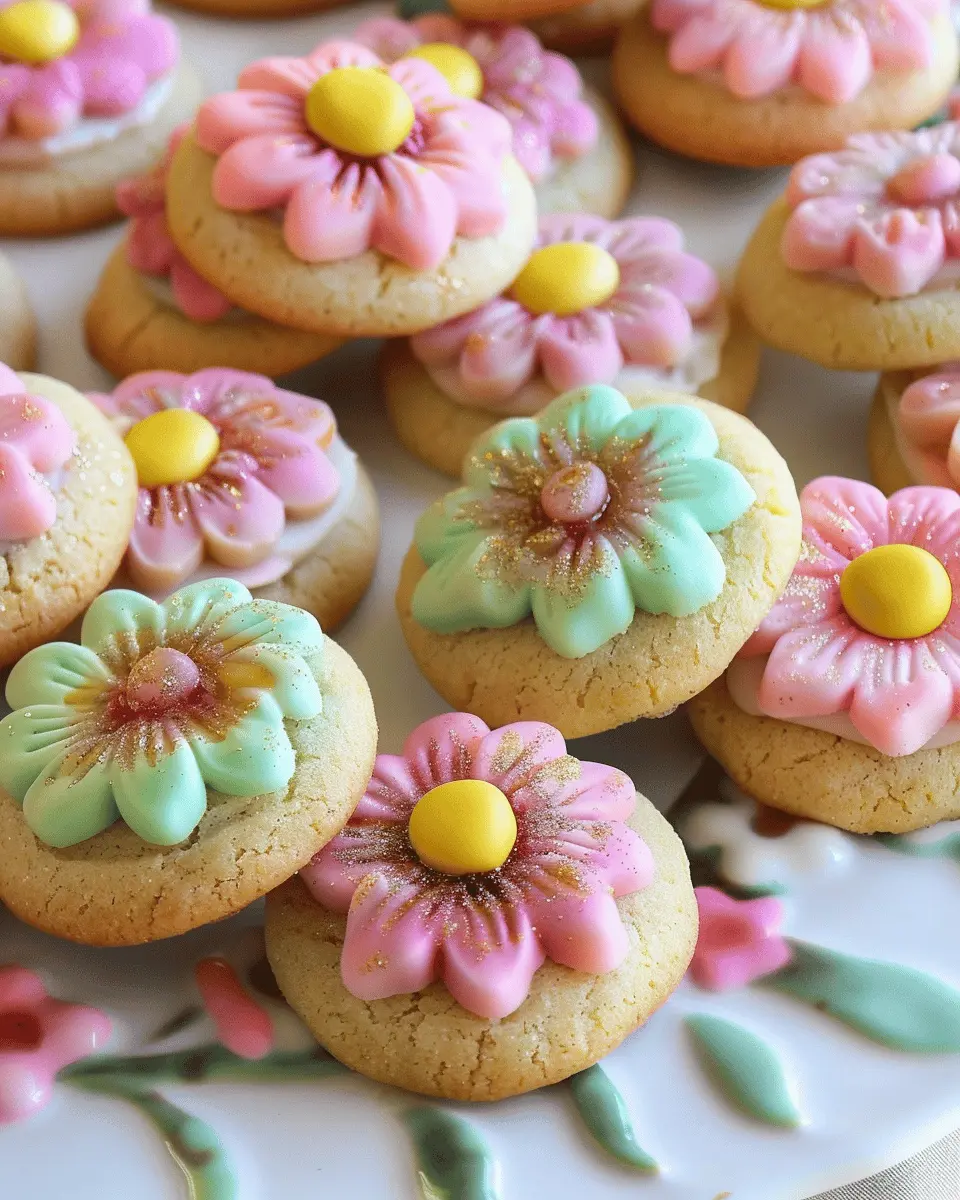
Introduction to Spring Blossom Cookies
Baking is more than just a culinary task; it’s a delightful journey that leads to some of life’s simplest joys. Spring Blossom Cookies are the perfect embodiment of this experience, inviting you into the world of sweet creations. Picture the scene: a bright, sunny day, the warmth of spring enveloping you as you pull a tray of freshly baked cookies from the oven, their floral aroma mingling with the crisp spring air.
The joy of baking homemade treats
Homemade cookies like Spring Blossom Cookies are not just delicious; they carry an emotional weight that store-bought treats can’t match. When you bake, you’re not just following a recipe; you’re creating memories and indulging in a hands-on project that fills your kitchen with love. Whether you’re sharing them with friends at a gathering or enjoying them solo as a sweet afternoon pick-me-up, each bite takes you back to simpler times.
Have you ever noticed how baking can transform your mood? Engaging in a creative process can lead to reduced stress levels. According to a study by the American Journal of Public Health, cooking and baking can significantly improve mental well-being. It’s as if each ingredient you mix in reflects your unique touch, allowing you to express creativity and cultivate mindfulness.
Spring is a time of renewal, and what better way to celebrate than by making Spring Blossom Cookies? These treats are not only visually appealing with their vibrant colors, but they also bring the essence of spring into your home. You can experiment with different colors, flavors, and even shapes, making each cookie as unique as the day itself.
Getting started with your Spring Blossom Cookies
Before you start this delightful adventure, gather your essentials and prep your mind for a rewarding journey. Here’s a quick list of essentials you’ll need:
- Flour
- Sugar
- Butter
- Eggs
- Baking powder
- Flavorings, such as vanilla or almond extract
- Fresh or dried flowers for garnish
With these basic ingredients at hand, you are well on your way to crafting something special. Ready to bring a touch of spring to your baking? Let’s dive into the recipe! For more inspiration, you can check out sources like Cookie Connection or The Cookie Monster’s blog for tips and tricks.
Ingredients for Spring Blossom Cookies
If you’re looking to brighten up your dessert table this season, Spring Blossom Cookies are the perfect choice. They’re not only delicious but also a fun way to savor the flavors of spring. Let’s dive into what you’ll need for this delightful treat:
Essential Ingredients
- All-purpose flour: 2 cups – The base of your cookies, providing structure.
- Baking powder: 1 teaspoon – Helps your cookies rise to a perfect fluffy texture.
- Salt: ½ teaspoon – Enhances the overall flavor.
- Unsalted butter: 1 cup (softened) – For that rich, buttery taste.
- Granulated sugar: 1 cup – Sweetness is essential; adjust to your preference.
- Brown sugar: ½ cup – Adds a lovely depth of flavor.
- Eggs: 2 large – They bind all the ingredients together.
- Vanilla extract: 2 teaspoons – A wonderful aroma to uplift your cookies.
- Spring-themed sprinkles: A generous handful – Because who doesn’t love a little color?
Optional Add-ins
- Chopped nuts: ½ cup – Walnuts or pecans add a nice crunch.
- Chocolate chips: 1 cup – A classic addition that never fails.
- Dried fruit: Like cranberries or apricots for a burst of flavor.
Gather these ingredients, and you’ll be on your way to creating the most delightful Spring Blossom Cookies. If you want to explore more baking tips, check out The Kitchn for a treasure trove of recipes! Happy baking!
Step-by-step preparation for Spring Blossom Cookies
Baking brings a sense of joy and warmth, especially when it comes to making delicious cookies. Our Spring Blossom Cookies are delightful treats that not only satisfy your sweet tooth but also brighten up your kitchen! Follow these steps to create your own batch of these colorful and tasty cookies.
Preheat and prepare your baking sheet
The first step to baking the perfect Spring Blossom Cookies is to get your oven ready. Preheat it to 350°F (175°C). While the oven is warming up, prepare your baking sheets by lining them with parchment paper. This simple action helps prevent the cookies from sticking and ensures even baking. If you don’t have parchment paper, a light greasing of the baking sheet with a bit of butter will work too. Just remember, we want to make cleanup as easy as possible!
Unwrap the chocolate Kisses
Now, let’s get to the fun part! While you’re waiting for the oven to reach the desired temperature, start unwrapping those chocolate Kisses. You’ll need about 24 pieces for this recipe, and trust me, you’ll want to do this in advance so they’re ready to go when your cookies come out of the oven. Consider putting on your favorite playlist—candy unwrapping becomes a whole vibe when you’ve got some tunes in the background!
Mix the wet ingredients
In a large mixing bowl, it’s time to combine the wet ingredients. Start with ½ cup of unsalted butter, melted and cooled a bit, then add in 1 cup of granulated sugar and 1 egg. Blend these together until you have a smooth mixture. If you want to elevate the flavor, add a teaspoon of vanilla extract. It’s amazing how such a simple ingredient can make your Spring Blossom Cookies taste like a hug in cookie form.
Combine dry ingredients
Next, grab another bowl and whisk together your dry ingredients: 1 ½ cups of all-purpose flour, 1 teaspoon of baking soda, and a pinch of salt. Mixing these together before combining ensures even distribution of the leavening agent, giving your cookies that perfect rise.
Expert baker’s tip: Always measure your flour properly! Spoon it into the measuring cup and level it off with a knife for best results. Excess flour can lead to dense cookies instead of the light, airy treats we want.
Form the cookie dough
Now comes the best part—bringing everything together! Gradually mix the dry ingredients into the wet mixture. Stir until you have a cohesive dough. The dough should be soft and slightly sticky, which means it’s just right for your Spring Blossom Cookies. If you feel adventurous, consider folding in some colorful sprinkles to add a pop of color!
Roll and place on the baking sheet
Using your hands, take small pieces of the dough and roll them into balls about 1 inch in diameter. Place them onto the prepared baking sheet, about 2 inches apart to give them room to spread. If you like a more polished look, you can roll the dough balls in powdered sugar before placing them on the sheet!
Bake the cookies
It’s time to let the oven do its magic! Place the baking sheet in the oven and bake for about 8-10 minutes, or until the edges are lightly golden. Keep an eye on them, as all ovens bake differently. The magic moment is when the cookies look soft but are set around the edges.
Add the chocolate Kisses
Once the cookies are out of the oven, let them cool for just a minute. Then gently press a chocolate Kiss into the center of each cookie while they’re still warm. The heat will soften the Kisses, making them extra delicious.
Let the cookies cool completely on the baking sheet or on a wire rack after adding the Kisses, and then enjoy the burst of spring flavors in every bite of your Spring Blossom Cookies.
Happy baking! For more tips and tricks, consider checking out resources like King Arthur Baking for expert baking advice.

Variations on Spring Blossom Cookies
Spring Blossom Cookies are a delightful treat that can easily be customized to suit your preferences and dietary needs. Whether you’re hosting a party or just enjoying a quiet afternoon, these variations can add a fun twist to the classic recipe.
Spring Blossom Cookies with Flavored Kisses
Why not elevate your Spring Blossom Cookies by experimenting with flavored kisses? Instead of the traditional chocolate, try using peanut butter, coconut, or caramel varieties. Each flavor offers a unique touch, and the result is a delightful burst of taste in every bite. Simply swap out the chocolate kisses for your preferred flavor, baking them just as you would the original recipe. Not only do these variations add a fun element, but they also make for spectacular gifts or treats to share with friends.
For inspiration on different flavored kisses, check out brands like Hershey’s or Ghirardelli, which frequently release limited-edition varieties throughout the year.
Gluten-Free Spring Blossom Cookies
For those of you who follow a gluten-free lifestyle, don’t worry—you can still enjoy scrumptious Spring Blossom Cookies! Simply replace all-purpose flour with a high-quality gluten-free flour blend. Options like almond flour or coconut flour can also provide a delightful twist while keeping the texture just right.
- Use a blend that contains xanthan gum for better binding.
- Remember to check labels on your chocolate kisses to ensure they are gluten-free.
Making these simple adjustments means everyone can indulge in the joy of baking, regardless of dietary restrictions. For more gluten-free baking tips, consider resources from organizations like the Gluten Intolerance Group.
By exploring variations of Spring Blossom Cookies, you not only cater to diverse tastes and dietary needs but also make your baking experience more enjoyable and adventurous!
Cooking Tips and Notes for Spring Blossom Cookies
Creating the perfect Spring Blossom Cookies involves more than just following the recipe; it’s all about the little nuances that can elevate your baking game. Here are some helpful tips to ensure your cookies are a springtime hit!
Choose Fresh Ingredients
- Always opt for fresh, high-quality ingredients. Your flour, butter, and eggs make all the difference in flavor and texture. Consider visiting your local farmer’s market for the freshest eggs and butter.
Don’t Overmixed the Dough
Mixing your dough too much can lead to tough cookies. Aim for a gentle mix just until ingredients are combined. Curious about the science behind this? Check out Serious Eats for a deeper dive!
Cooling is Key
Let your cookies cool on a wire rack. This helps maintain their texture and keeps them from becoming too soft. A common mistake is to skip this step—resist the urge!
Experiment with Flavors
Feel free to add extra flavors like lemon zest or almond extract to give your Spring Blossom Cookies a unique twist! What’s your favorite addition?
Remember, baking is a blend of science and art; have fun as you explore the world of cookie-making!

Serving Suggestions for Spring Blossom Cookies
When it comes to enjoying your Spring Blossom Cookies, the right serving suggestions can elevate the experience and impress your friends. These delightful treats are perfect for various occasions, so let’s explore some fun ways to serve them.
Tea Time Delight
Pairing your Spring Blossom Cookies with a refreshing herbal tea creates a lovely afternoon treat. Consider flavors like chamomile or mint, which complement the cookies’ floral notes beautifully. A cozy afternoon sipping tea with friends can be a perfect way to unwind.
Picnics and Gatherings
These cookies also make an excellent addition to picnics. Their vibrant look is sure to attract attention, and they travel well! Pack them along with some fresh fruit and slightly chilled lemonade for a delightful outdoor feast. Find refreshing lemonade recipes here.
Creative Presentation
For a festive touch, consider stacking your Spring Blossom Cookies on a decorative cake stand or using colorful platters. Adding edible flowers as decor not only elevates the visual appeal but also enhances the spring theme. It’s a simple yet effective way to impress your guests.
By incorporating these serving suggestions, you’ll not only share your love for Spring Blossom Cookies but also create memorable moments that celebrate the season and the joy of baking!
Time breakdown for Spring Blossom Cookies
Preparation time
Making your Spring Blossom Cookies starts with a quick prep phase! You’ll need about 15 to 20 minutes to gather your ingredients and mix everything. Pro tip: Measure your ingredients beforehand for a smoother experience.
Baking time
Once you’ve shaped the dough into delightful little mounds, it’s time to pop them in the oven. These cookies bake for around 10 to 12 minutes. Keep an eye on them; you want that perfect golden hue!
Total time
In total, you’re looking at approximately 30 to 35 minutes from start to finish. Not too bad for such a delightful treat! Perfect for a spring gathering or a cozy evening at home. Enjoy these delightful Spring Blossom Cookies with a cup of tea or your favorite refreshing beverage. If you’re curious about pairing options, check out this guide on matching cookies and drinks.
Nutritional Facts for Spring Blossom Cookies
When you whip up a batch of these delightful Spring Blossom Cookies, it’s helpful to know what’s hiding in each tasty bite. Here’s a quick breakdown of their nutritional profile:
Calories
Each cookie contains approximately 120 calories, making them a sweet indulgence that won’t completely derail your diet. Perfect for when you want a treat without overdoing it!
Sugar Content
With around 8 grams of sugar per cookie, Spring Blossom Cookies offer just the right amount of sweetness. However, if you’re mindful of sugar intake, consider pairing them with some fresh fruit or yogurt for a balanced snack.
Sodium
These cookies contain about 50 mg of sodium, which is quite low for a sweet treat. Enjoy without worrying too much about your sodium levels, but it’s always a good idea to maintain balance in your overall daily intake.
For more insights on nutritional content and healthier baking tips, check resources like the USDA FoodData Central or consult a registered dietitian for personalized advice. As you indulge in your Spring Blossom Cookies, remember that moderation is key!
FAQs about Spring Blossom Cookies
Can I make these cookies in advance?
Absolutely! Spring Blossom Cookies are perfect for prepping ahead of time. You can make the dough and refrigerate it for up to three days. Just roll them into balls and refrigerate until you’re ready to bake. Alternatively, after baking, these cookies can also be stored in an airtight container at room temperature for 3-5 days—great for those spontaneous gatherings!
What can I use instead of chocolate Kisses?
If you’re looking to switch things up, you have a few tasty alternatives! Consider using caramel-filled candies or fruit-flavored gummies for a fun twist. If you’re feeling adventurous, chopped nuts or even a drizzle of white chocolate can offer a delightful crunch and flavor. Check out this article for more creative candy options that will perfectly complement your Spring Blossom Cookies.
How do I store leftover cookies?
To keep your Spring Blossom Cookies fresh and delicious, store them in an airtight container. You can place parchment paper between layers if you’ve stacked them—this helps prevent sticking. For longer storage, consider freezing them. Just wrap each cookie tightly in plastic wrap and then place them in a freezer-safe bag. They can last up to three months. When you’re ready, simply let them thaw at room temperature, and you’re good to go!
Enjoy your baking adventure with Spring Blossom Cookies! They’ll surely bring a touch of spring to any occasion.
Conclusion on Spring Blossom Cookies
In summary, Spring Blossom Cookies embody the essence of the season with their vibrant colors, delightful flavors, and comforting textures. These cookies not only tantalize the taste buds but also provide an avenue for creativity, whether you’re decorating them for a festivities or simply enjoying a quiet afternoon. Baking these cookies can be a wonderful way to bond with family or friends, creating sweet memories over freshly baked treats.
So, gather your ingredients and let your baking journey blossom. If you’re looking for inspiration, consider checking BBC Good Food or Food Network for other spring-themed recipes that could complement your Spring Blossom Cookies! Happy baking!
PrintSpring Blossom Cookies: Easy Treats for a Joyful Spring Day

Delight in the flavors of spring with these easy and cheerful Spring Blossom Cookies, perfect for celebrating the season.
- Prep Time: 15 minutes
- Cook Time: 12 minutes
- Total Time: 27 minutes
- Yield: 24 cookies 1x
- Category: Dessert
- Method: Baking
- Cuisine: American
- Diet: Vegetarian
Ingredients
- 1 cup unsalted butter, softened
- 1 cup granulated sugar
- 1 large egg
- 1 teaspoon vanilla extract
- 3 cups all-purpose flour
- 1 teaspoon baking powder
- 1/2 teaspoon salt
- 1 cup powdered sugar
- 2 tablespoons milk
- 1/2 teaspoon food coloring (optional)
Instructions
- Preheat the oven to 350°F (175°C).
- In a mixing bowl, cream together the butter and granulated sugar until light and fluffy.
- Add the egg and vanilla extract, mixing until well combined.
- In a separate bowl, whisk together the flour, baking powder, and salt.
- Gradually add the dry ingredients to the wet mixture, mixing until a dough forms.
- Drop tablespoons of dough onto a baking sheet lined with parchment paper.
- Bake for 10-12 minutes, or until the edges are lightly golden.
- In a small bowl, mix powdered sugar, milk, and food coloring to make a glaze.
- Once cookies are cool, drizzle the glaze over the top.
Notes
- For a more intense color, add more food coloring to the glaze.
- These cookies can be decorated with sprinkles or edible flowers for a festive touch.
Nutrition
- Serving Size: 1 cookie
- Calories: 150
- Sugar: 10g
- Sodium: 20mg
- Fat: 7g
- Saturated Fat: 4g
- Unsaturated Fat: 2g
- Trans Fat: 0g
- Carbohydrates: 20g
- Fiber: 0g
- Protein: 1g
- Cholesterol: 30mg
Keywords: Spring Blossom Cookies, Easter cookies, spring desserts