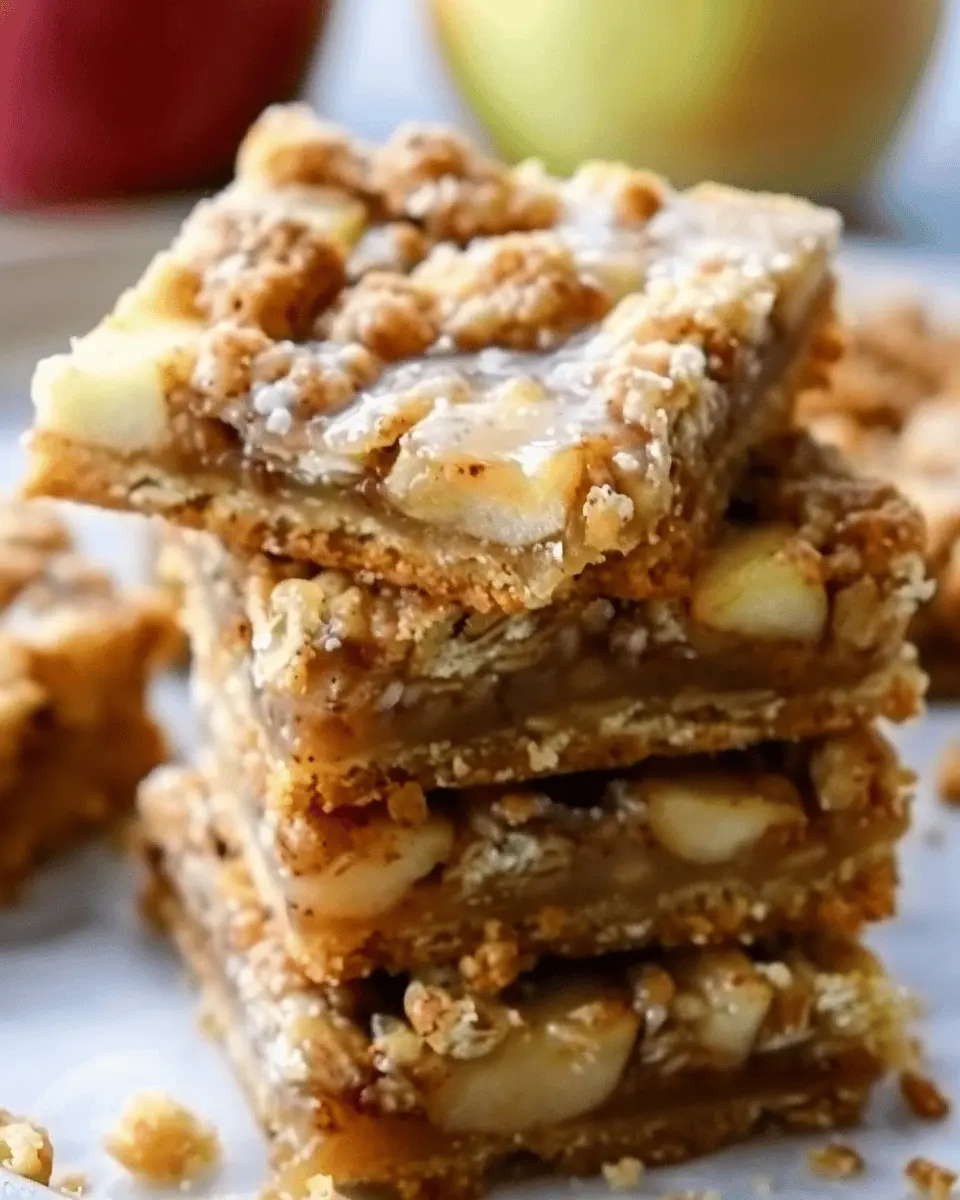
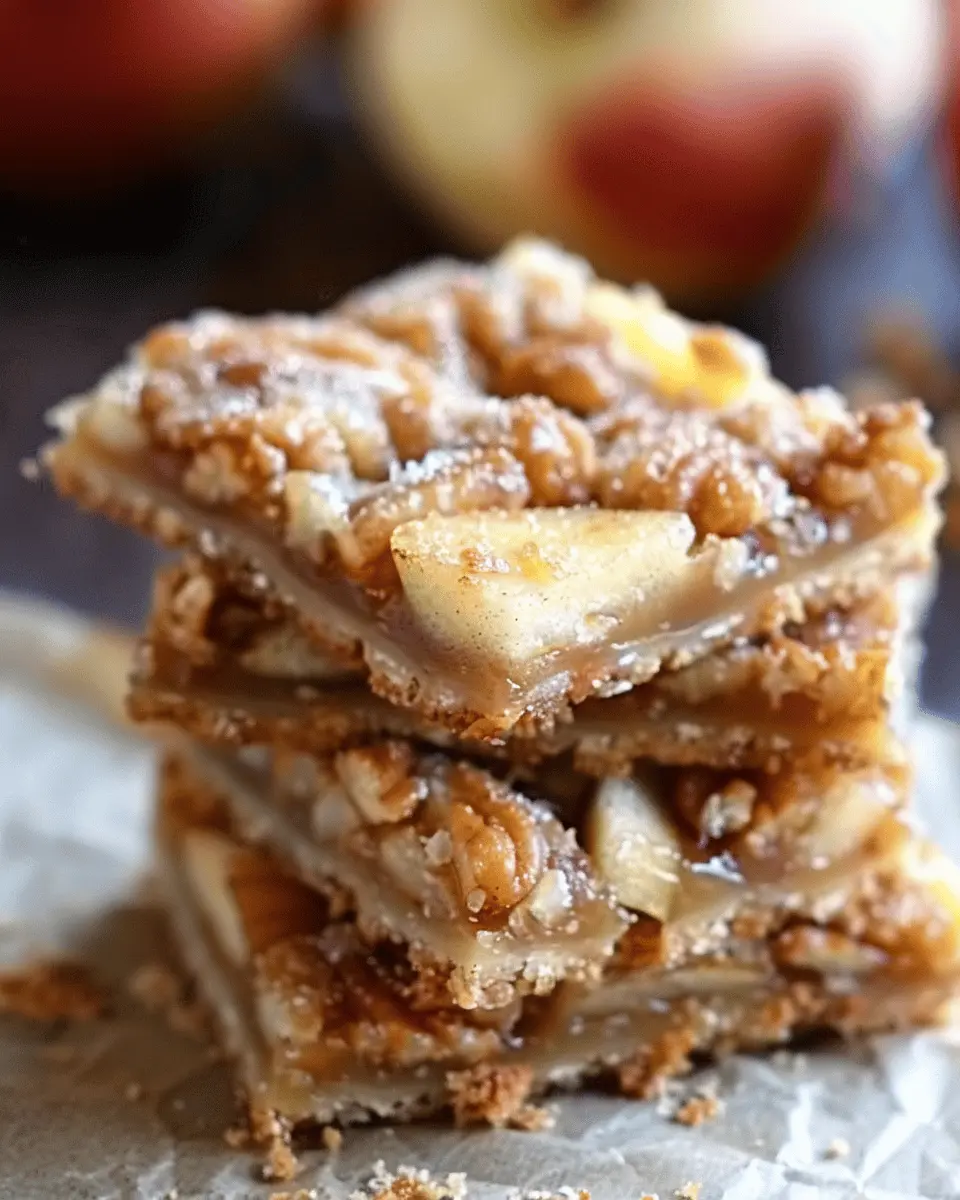
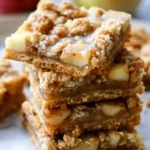
Introduction to Delicious Apple Bars
Why Apple Bars?
Have you ever craved something sweet yet subtle, something that feels like a warm hug? To me, apple bars are the answer to those cravings. These delightful treats combine the wholesome goodness of apples with the buttery richness of a homemade cookie base. Plus, they’re incredibly versatile: serve them as a warm dessert or a delicious snack with your afternoon coffee.
According to a survey on dessert preferences, a surprising majority lean towards fruit-based desserts for their fresh taste and comforting effect. So, if you’re looking to bring a little joy into your kitchen, apple bars are the perfect start!
The Ultimate Comfort Food
You know that feeling when you take a bite of something, and it instantly transports you back to your childhood kitchen? That’s what apple bars do for me. They evoke memories of crisp autumn days spent apple picking, and it’s this nostalgia that makes them the ultimate comfort food.
What’s special about apple bars is not just their flavor but also their aroma. Imagine filling your home with the scent of cinnamon, sugar, and baked apples. It’s a perfect way to create a cozy atmosphere, whether it’s a chilly fall evening or simply a regular weekday.
My Journey with Homemade Apple Bars
My journey with apple bars began during a family gathering. I was tasked with dessert, a challenge I welcomed with open arms (and a bit of nervousness!). After some trial and error, I discovered a recipe that struck the perfect balance of sweet and tart—a true crowd-pleaser!
What I love most is how easy it is to customize them. You can add nuts for crunch, swap in raisins for extra sweetness, or even experiment with different spices. The world of apple bars is vast and delicious!
If you’re considering diving into the world of baking, try making these bars. They are not only easy to prepare but also an inviting way to hone your culinary skills. Want to know more about the best apples for baking? Check out this comprehensive guide to pick your favorite.
Stay tuned for the full recipe that will have you whipping up your own delicious batch of apple bars in no time!
Ingredients for Apple Bars
Essential Ingredients
When crafting delicious apple bars, it all starts with selecting the right ingredients. Here’s what you’ll need to make a scrumptious batch:
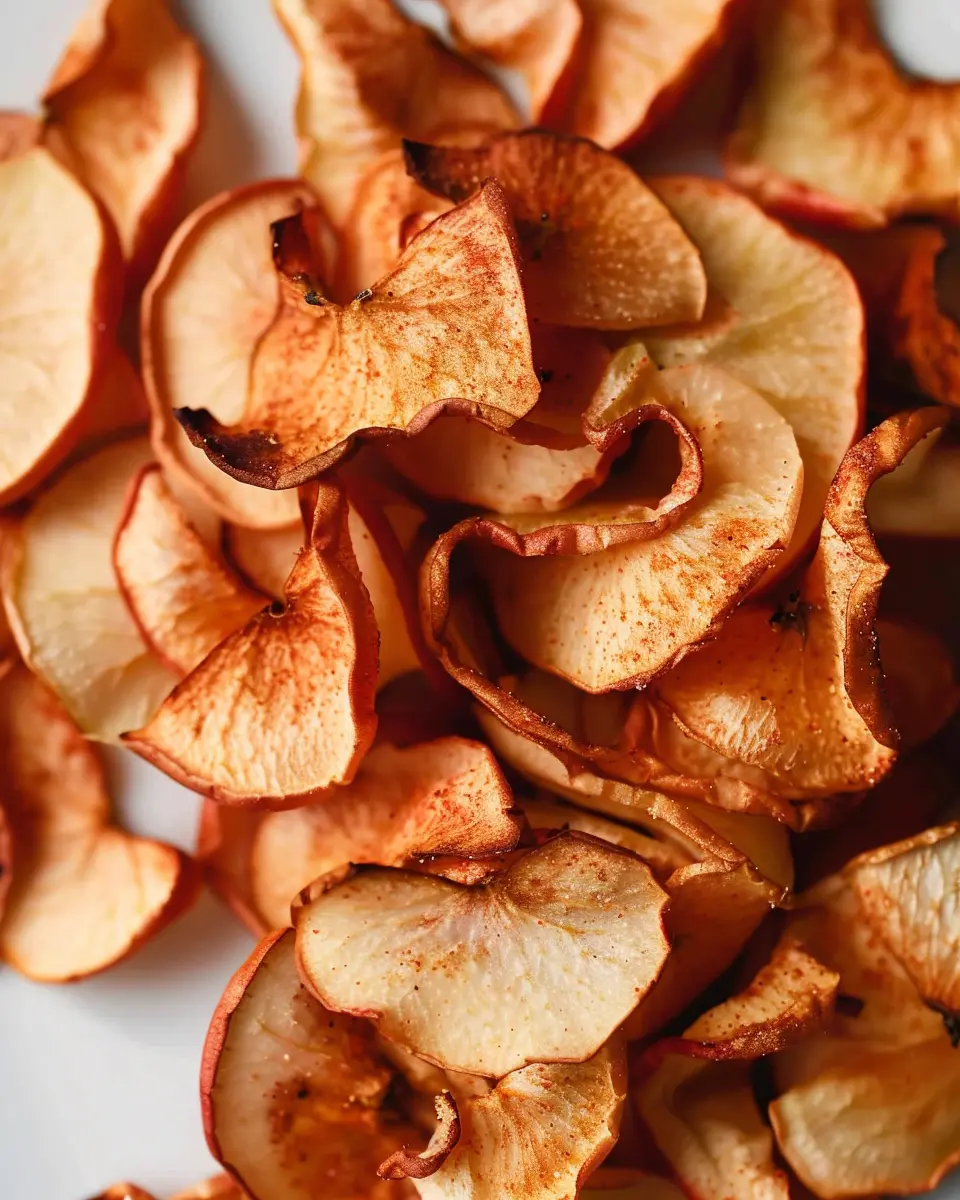
- Apples: About 3-4 medium apples, preferably tart varieties like Granny Smith for that perfect flavor balance.
- All-Purpose Flour: 1 ½ cups to give the bars structure.
- Sugar: ¾ cup, adding just the right amount of sweetness.
- Brown Sugar: ½ cup for a rich, caramel-like flavor.
- Butter: ½ cup, preferably unsalted, melted to keep your bars moist.
- Eggs: 2 large, for binding everything together.
- Baking Powder and Baking Soda: 1 tsp each, for that added lift.
- Cinnamon: 1 tsp to bring warmth and depth to your apple bars.
These ingredients form the backbone of your apple bars recipe. For a detailed walkthrough, check out this guide which dives into everything you need to know.
Optional Add-Ins
Ready to customize your apple bars? Here are some tasty optional add-ins:
- Nuts: Chopped walnuts or pecans add a delightful crunch.
- Dried Fruits: Raisins or cranberries for a chewy texture.
- Spices: A pinch of nutmeg or ginger can elevate the flavor profile.
- Chocolate Chips: Because who doesn’t love a touch of chocolate?
Feel free to mix and match these additions to make your apple bars uniquely yours. Happy baking!
Preparing Apple Bars
Making apple bars is a delightful way to enjoy this classic fruit in a new form. Whether you’re preparing for a cozy night in or impressing friends at a gathering, these warm, gooey treats are sure to be a hit. Let’s dive into how you can prepare them with some easy-to-follow steps.
Gather Your Ingredients
Before jumping into the baking process, it’s essential to collect all the necessary ingredients. This saves time and ensures you don’t get halfway through only to realize you’re missing something. For a batch of scrumptious apple bars, you’ll need:
-
For the crust:
-
2 cups all-purpose flour
-
1/2 cup granulated sugar
-
1/2 cup unsalted butter, softened
-
1 egg
-
1 teaspoon vanilla extract
-
A pinch of salt
-
For the apple filling:
-
4 medium apples, peeled, cored, and diced (I recommend Granny Smith for their tartness)
-
1 tablespoon lemon juice
-
1/2 cup brown sugar
-
1 teaspoon cinnamon
-
1 tablespoon cornstarch (to thicken the filling)
With everything gathered, it’s time to start creating.
Create the Crust Mixture
Making the crust is a straightforward process, and it’s the foundation of your apple bars.
- In a large mixing bowl, combine the flour, granulated sugar, and salt.
- Add the softened butter, egg, and vanilla extract. Use a fork or your hands to mix until the dough is soft and pliable but not overly sticky. You want it to hold together without crumbling apart.
- Once combined, form the mixture into a ball, wrap it in plastic wrap, and refrigerate for about 30 minutes. This step is crucial, as it allows the dough to firm up, making it easier to roll out later.
Bake the Crust
While the crust is chilling, preheat your oven to 350°F (175°C). Once the dough has sufficiently chilled, roll it out on a floured surface to fit your baking dish (typically 9×13 inches).
- Gently transfer the rolled-out dough to the baking dish and press it evenly into the bottom, creating a nice even layer.
- To avoid a soggy crust, pre-bake it for about 10 minutes until just firm and lightly golden. This step creates a barrier that prevents the apple filling from soaking into the crust.
Prepare the Apple Filling
While the crust is baking, it’s time to make the filling. This is where the magic happens!
- In a large bowl, toss the diced apples with lemon juice (to prevent browning), brown sugar, cinnamon, and cornstarch. The sugar will help the apples soften and release their juices.
- Mix well to ensure the apples are evenly coated with the sweet and spicy mixture. Let it sit for about 10-15 minutes while the crust finishes baking. This lets the flavors really meld together.
Assemble and Bake
Now comes the best part—assembly!
- Once the crust has cooled slightly, pour the apple filling evenly over it.
- If you have any remaining crust, crumble it over the top for a delightful texture.
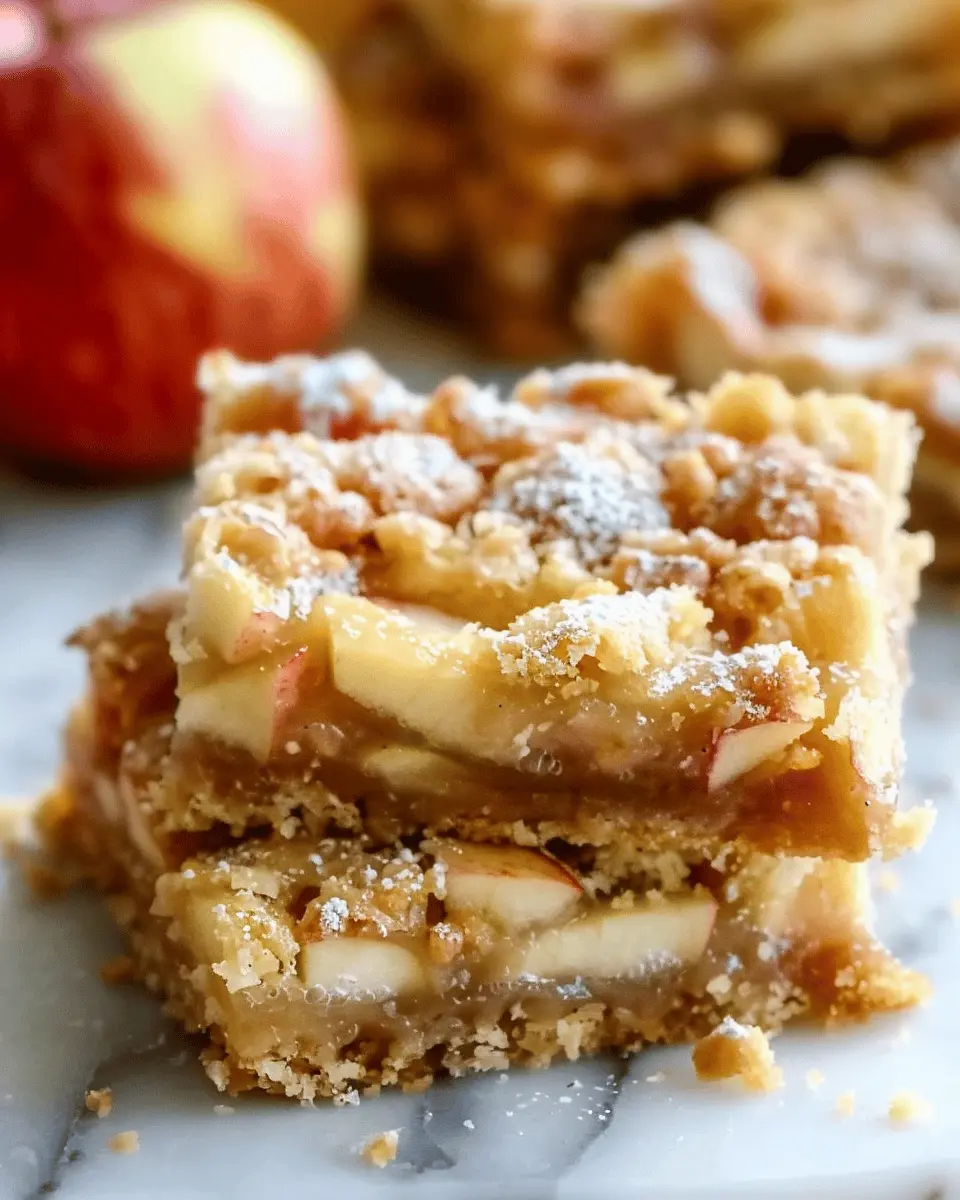
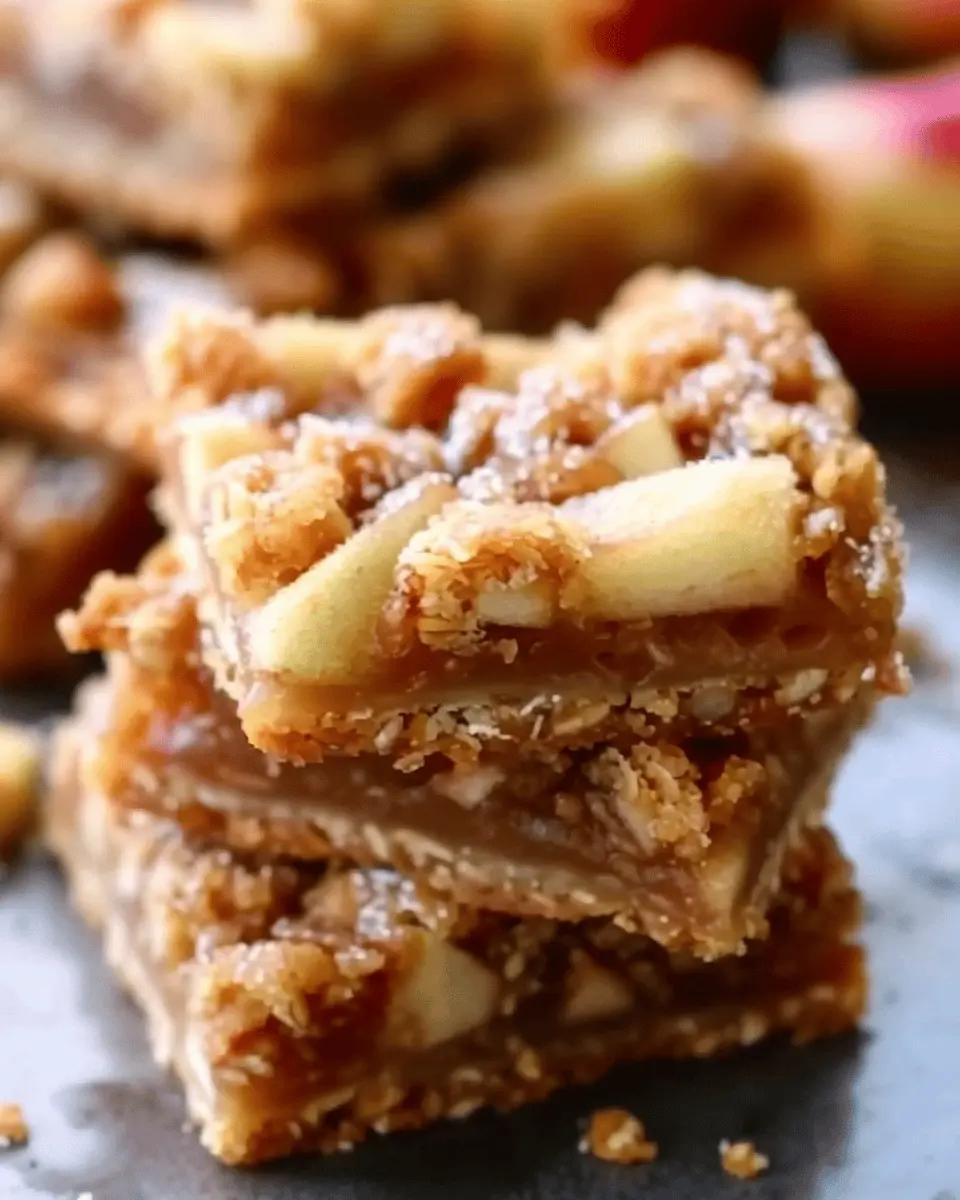
- Bake the assembled apple bars in your preheated oven for about 30-35 minutes, or until the apples are bubbly and the top is golden brown.
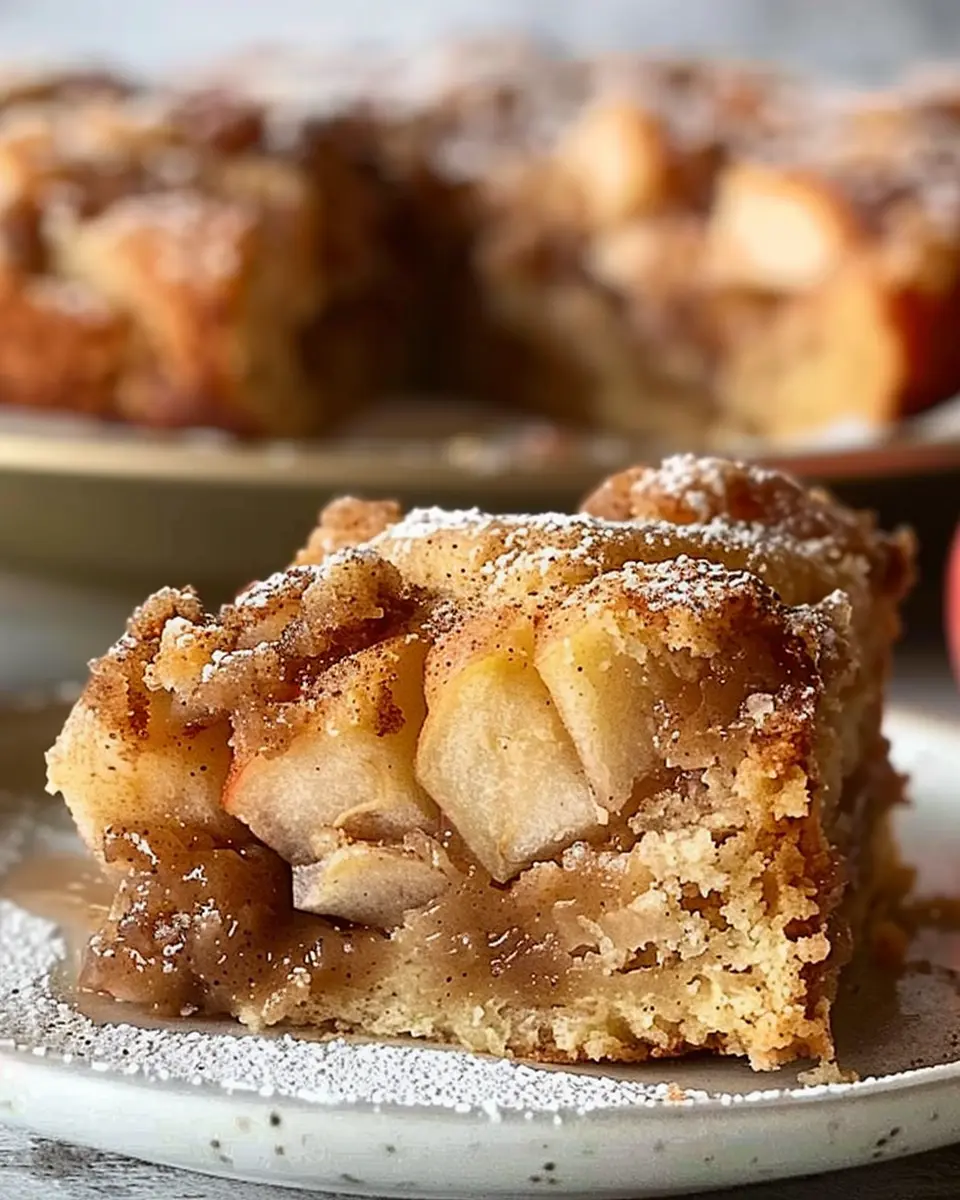
Let the bars cool completely in the pan before slicing. This not only makes them easier to cut but also allows the flavors to develop. Serve warm, maybe with a scoop of vanilla ice cream or drizzle of caramel sauce for that extra indulgence.
Enjoy!
And there you have it—delicious homemade apple bars that are bound to impress! Gather some friends or family and indulge in the cozy flavors of fall any time of the year. You can also check out sites like Taste of Home for more apple-inspired recipes and tips!
Variations on Apple Bars
Nutty Apple Bars
If you love a little crunch alongside your sweet apple filling, Nutty Apple Bars are a delightful twist to the classic recipe. Simply add a mix of your favorite nuts—walnuts, pecans, or almonds—into the batter or as a topping. Nuts not only enhance flavor but also provide a good source of protein and healthy fats. Plus, they’ll give you that satisfying texture contrast you crave. Just remember to adjust the sugar slightly, as the nuts will add their own natural sweetness.
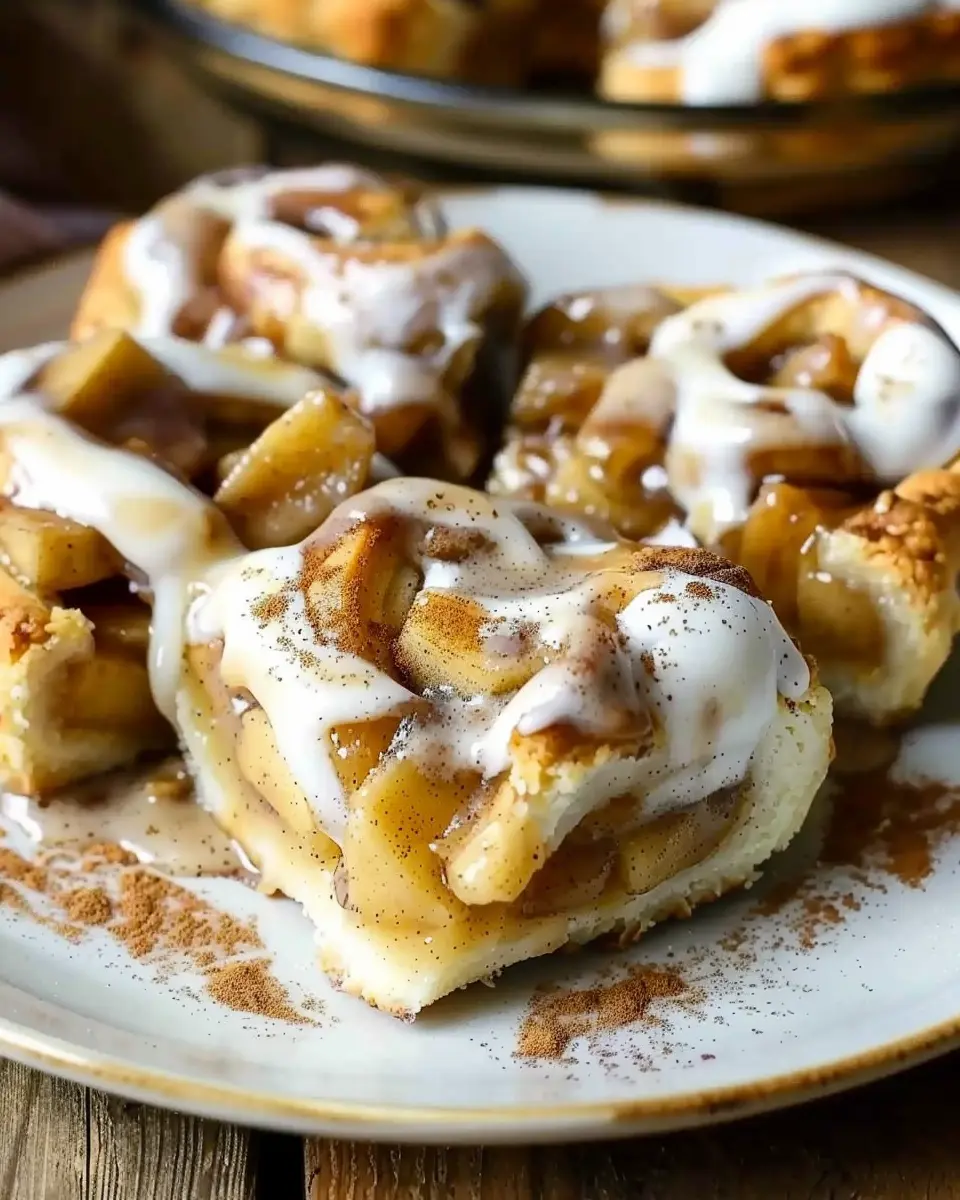
Caramel Topped Apple Bars
What’s better than a layer of warm apples? How about a drizzle of rich caramel sauce on top to elevate your apple bars? You can make a simple homemade caramel sauce with sugar, butter, and cream, or grab some from the store if you’re short on time. Just pour it generously over your baked bars before serving. For an indulgent finish, sprinkle a pinch of sea salt on top to complement the sweetness—a little touch that goes a long way!
For more tips on creating delightful caramel sauces, you can check out Serious Eats.
Gluten-Free Apple Bars
Don’t worry if you or your friends have gluten sensitivities—gluten-free apple bars can be just as delicious! Using almond flour or a gluten-free all-purpose blend, you can whip up a batch that everyone will enjoy. Combine it with a little ground cinnamon and nutmeg for that classic flavor, and don’t forget to check labels on your baking ingredients to ensure they’re gluten-free. Your taste buds won’t even notice the difference, and you’ll impress your guests with your culinary creativity!
For resources on gluten-free baking tips, explore The Gluten-Free Girl.
With these variations, you’ll never get bored of your homemade apple bars! Each style caters not just to different tastes but also brings a fresh perspective to a beloved dessert. What will you try first?
Baking Tips and Notes for Apple Bars
Ingredient Substitutions
If you’re looking to make some adjustments, you’re in luck! Here are a few ingredient substitutions that can help you personalize your apple bars:
- Use whole wheat flour instead of all-purpose flour for a healthier option.
- Swap in maple syrup or honey for sugar to add a unique sweetness and depth.
- For a vegan variant, try flaxseed meal combined with water as an egg replacement.
Tips for Achieving the Perfect Texture
Getting the right texture is key to mouthwatering apple bars. Here are a few tips to help you:
- Choose the right apples: Varieties like Granny Smith or Honeycrisp add the perfect balance of tartness and sweetness and hold their shape well.
- Don’t overmix: When combining your ingredients, mix just until incorporated to keep your bars tender.
- Chill the dough: If you have time, refrigerate the dough for at least 30 minutes before baking. This step helps the bars maintain their structure and improves flavor.
For more insights on the science of baking, check out resources from King Arthur Baking or Serious Eats. Happy baking!
Serving Suggestions for Apple Bars
Best Pairings
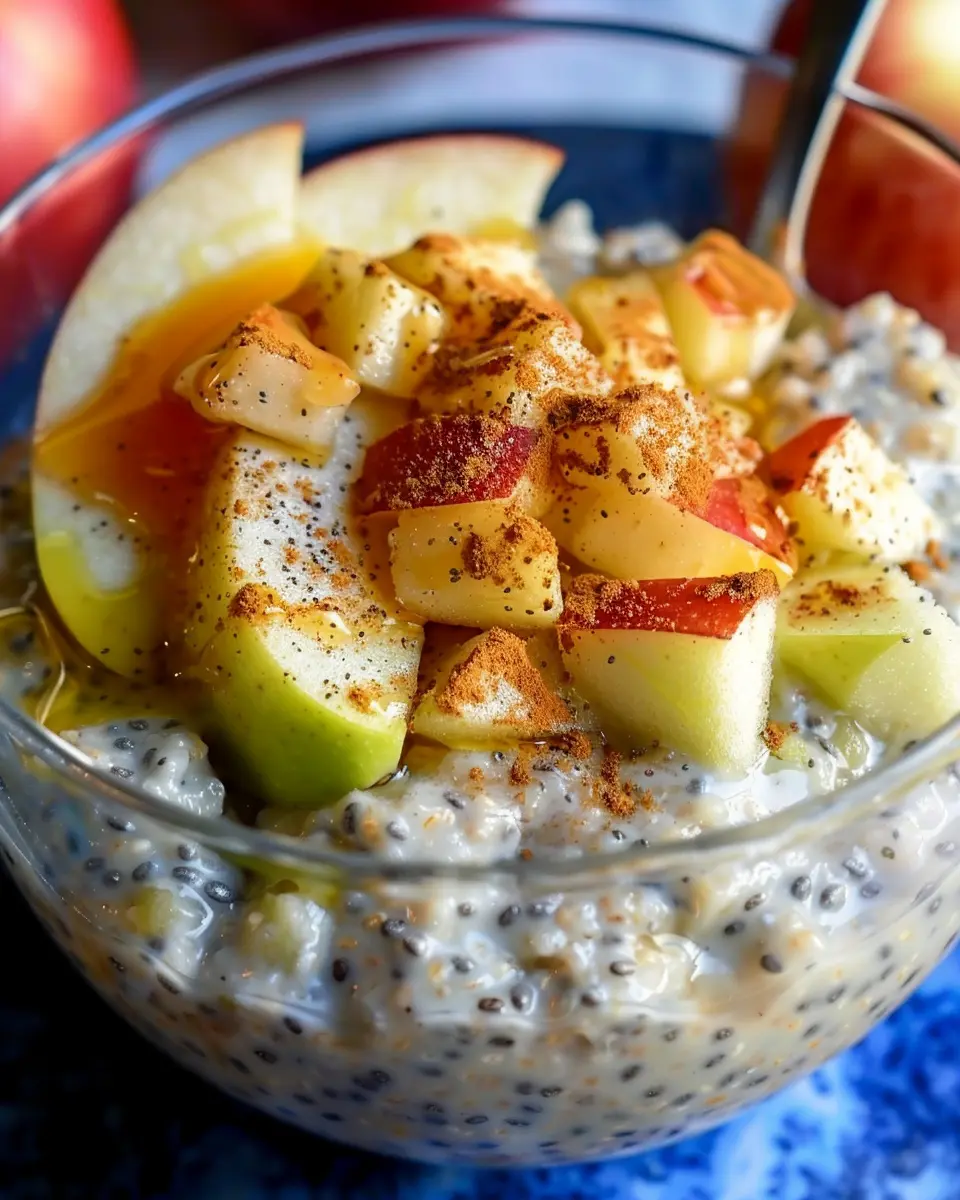
When it comes to enjoying your apple bars, think about what will enhance that warm, spiced flavor. A scoop of rich vanilla ice cream on top creates a delightful contrast—imagine that creamy goodness with each bite. If you’re keen for something more refreshing, a dollop of Greek yogurt with honey drizzled over the top can elevate your apple bars to a whole new level. Additionally, serving them alongside a steaming cup of spiced chai or aromatic herbal tea can make for a cozy afternoon treat.
Creative Serving Ideas
Take your presentation to the next level by transforming your apple bars into an eye-catching dessert. Try cutting them into smaller squares and arranging them on a platter for a delightful appetizer at your next gathering. You could even layer them with caramel sauce and chopped nuts for added crunch. Looking to impress? Serve your apple bars with a sprinkle of powdered sugar and a few fresh apple slices for garnish. The contrast of colors and textures will surely wow your guests!
For more delicious ideas, check out Taste of Home for inspiration on dessert pairings that complement your treats. Enjoy!
Time Breakdown for Apple Bars
Preparation Time
Making apple bars is a delightful experience that only requires about 20 minutes of your time to prep. This is when you’ll wash, peel, and slice those juicy apples, ensuring they’re perfect for baking. Don’t rush—this is a key step to achieving that mouthwatering flavor!
Baking Time
Once everything’s prepped and layered, pop your dish into the oven. Baking your apple bars will take about 30–35 minutes. Keep an eye on them to ensure they turn a lovely golden brown and that the aroma fills your kitchen with warmth!
Total Time
All in all, you’re looking at approximately 55–60 minutes from start to finish. Perfect for a cozy afternoon treat or a simple dessert to impress your friends. Feeling inspired? Check out our apple cooking tips for more ideas!
Nutritional Facts for Apple Bars
Calories and Nutrients
When it comes to apple bars, understanding their nutritional profile can help you enjoy them guilt-free. A typical serving contains around 150-200 calories, making them a delightful snack or dessert option. You’ll find a good balance of macronutrients, including:
- Carbohydrates: Approximately 30g, primarily from the natural sugars in apples.
- Fats: Mainly from added oils or butters, usually around 5-10g.
- Protein: A modest 2-3g, but it can be boosted by adding nuts or seeds.
These apple bars are also a source of essential vitamins, including Vitamin C and fiber, which are great for digestive health.
Healthier Alternatives
Looking to make your apple bars even more nutritious? Here are a few simple swaps to enhance their health benefits:
- Cut Back on Sugar: Reduce added sugars or substitute with natural sweeteners like maple syrup or honey.
- Whole Grain Alternatives: Use whole wheat or almond flour instead of refined flour for added fiber and nutrients.
- Add Nuts: Incorporate walnuts or almonds for a protein boost and healthy fats.
Curious about more healthy baking tips? Check out sources like the American Heart Association for expert advice!
By making small tweaks, you can enjoy delicious apple bars that fit perfectly into your healthier lifestyle.
FAQs about Apple Bars
How can I tell when the apple bars are done?
Determining the perfect baking time for your apple bars can be a bit tricky, but there are a few simple indicators to look for. First, start by checking the edges: they should be golden brown and pulling slightly away from the sides of the pan. Another helpful tip is to do the toothpick test—insert a toothpick into the center; if it comes out clean or with just a few crumbs attached, your apple bars are ready to come out of the oven. Remember, they will continue to firm up as they cool.
Can I use other fruits instead of apples?
Absolutely! While apples are a classic choice for apple bars, you can get creative with other fruits as well. Pears, peaches, or even berries can work wonderfully, adding their unique flavors and textures. Just keep in mind that different fruits will vary in moisture content, so adjustments in baking time or other ingredients might be necessary. If you’re feeling adventurous, check out this fruit swap guide for ideas!
How do I store leftover apple bars?
Storing your leftover apple bars isn’t complicated. Allow them to cool completely, then cover them in an airtight container or wrap them tightly in plastic wrap. They can be kept at room temperature for up to three days, or in the refrigerator for about a week. For longer storage, consider freezing them; just place them in a freezer-safe container, and they should last for up to three months. When you’re ready to enjoy them again, just let them thaw at room temperature or warm them in the microwave for a few seconds. Perfect for a quick treat!
These little tips will help ensure your apple bars remain delicious, even after you’ve had your fill!
Conclusion on Apple Bars
Recap of the Apple Bar Experience
In summary, apple bars are a delightful combination of sweet and tart flavors that come together in a comforting treat. The warm spices mingling with the fresh apples create a nostalgic experience reminiscent of cozy autumn days. Whether you enjoy them as a snack, dessert, or a breakfast treat, these bars truly shine in versatility.
Encouragement to Try the Recipe
I encourage you to gather your ingredients and give this recipe a shot. Not only will you savor every bite, but you’ll also impress friends and family alike. Plus, baking is a fantastic way to unwind and channel your creativity. If you’re looking for more inspiration, check out this guide to baking with apples. So let’s get baking those apple bars—you won’t regret it!
PrintApple Bars: Easy and Indulgent Homemade Treats for All
Delicious and easy-to-make apple bars perfect for any occasion.
- Prep Time: 15 minutes
- Cook Time: 35 minutes
- Total Time: 50 minutes
- Yield: 24 bars 1x
- Category: dessert
- Method: baking
- Cuisine: American
- Diet: vegetarian
Ingredients
- 4 cups of chopped apples
- 1 cup of sugar
- 2 cups of flour
- 1 teaspoon of cinnamon
- 1/2 teaspoon of salt
- 1 cup of butter, softened
- 2 large eggs
- 1 teaspoon of vanilla extract
Instructions
- Preheat the oven to 350°F (175°C).
- In a bowl, combine flour, sugar, cinnamon, and salt.
- In another bowl, beat the butter and eggs, then add the vanilla.
- Mix the wet and dry ingredients together until combined.
- Fold in the chopped apples.
- Pour the mixture into a greased baking pan.
- Bake for 30-35 minutes or until golden brown.
- Allow to cool before slicing into bars.
Notes
- Serve with a scoop of vanilla ice cream for extra indulgence.
- Try adding nuts for added texture.
Nutrition
- Serving Size: 1 bar
- Calories: 180
- Sugar: 12g
- Sodium: 125mg
- Fat: 8g
- Saturated Fat: 5g
- Unsaturated Fat: 2g
- Trans Fat: 0g
- Carbohydrates: 25g
- Fiber: 1g
- Protein: 2g
- Cholesterol: 30mg
Keywords: Apple Bars, dessert, homemade, treats