Introduction to Garlic Bread Rolls
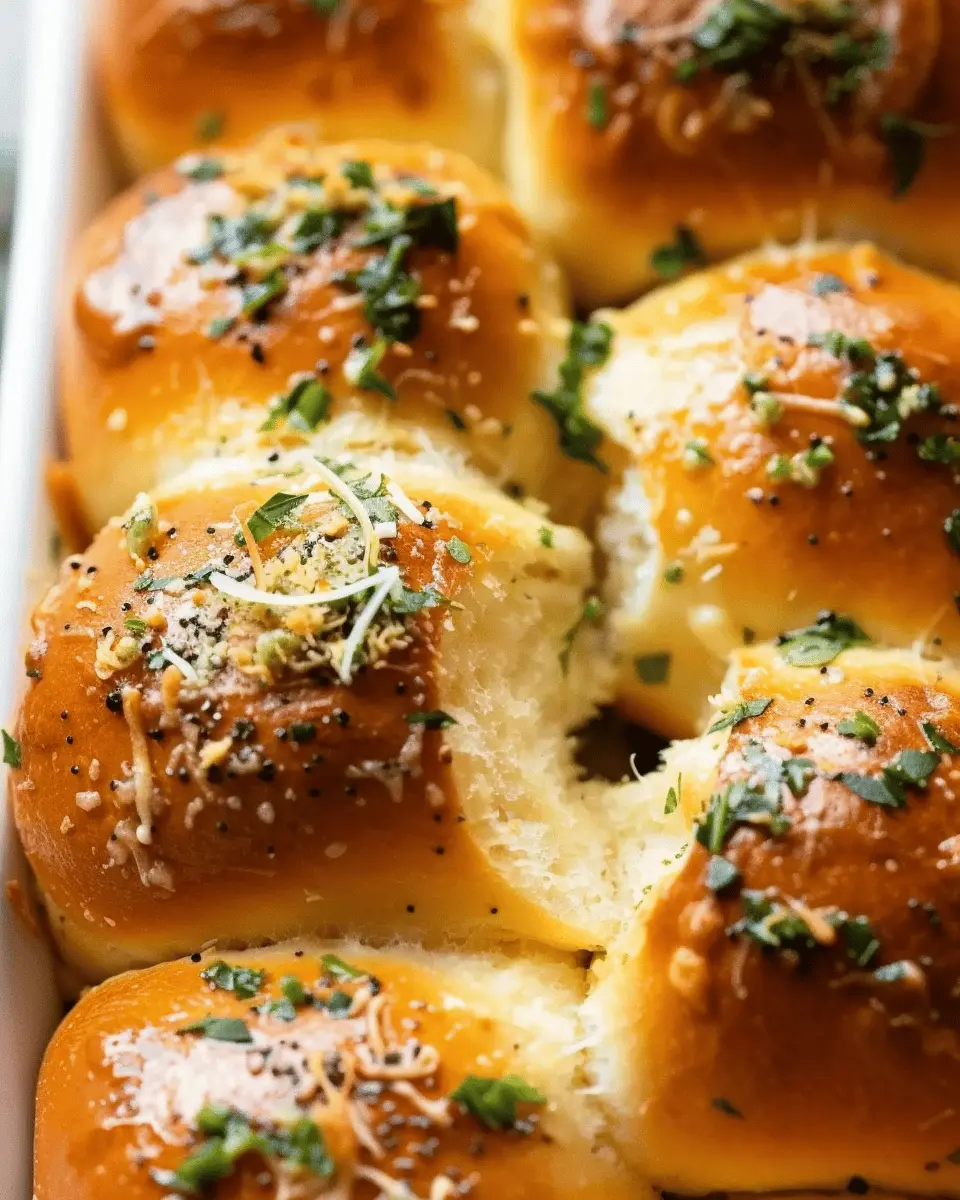
When it comes to comfort food, few things can beat the warm, irresistible aroma of fresh-baked garlic bread rolls wafting through your kitchen. These delightful little morsels are not just a side dish; they can elevate any meal into something memorable. But what makes homemade garlic bread rolls truly a game changer?
Why Homemade Garlic Bread Rolls Are a Game Changer
First off, let’s talk about freshness. There’s a world of difference between store-bought and homemade. When you bake your own garlic bread rolls, the ingredients are simple and clean. You have complete control over what goes in, which means you can customize the flavor, adjust the garlic intensity, and even substitute for health-conscious alternatives. This way, you can opt for ingredients like whole grain flour or organic butter, making your rolls not only delicious but slightly healthier too.
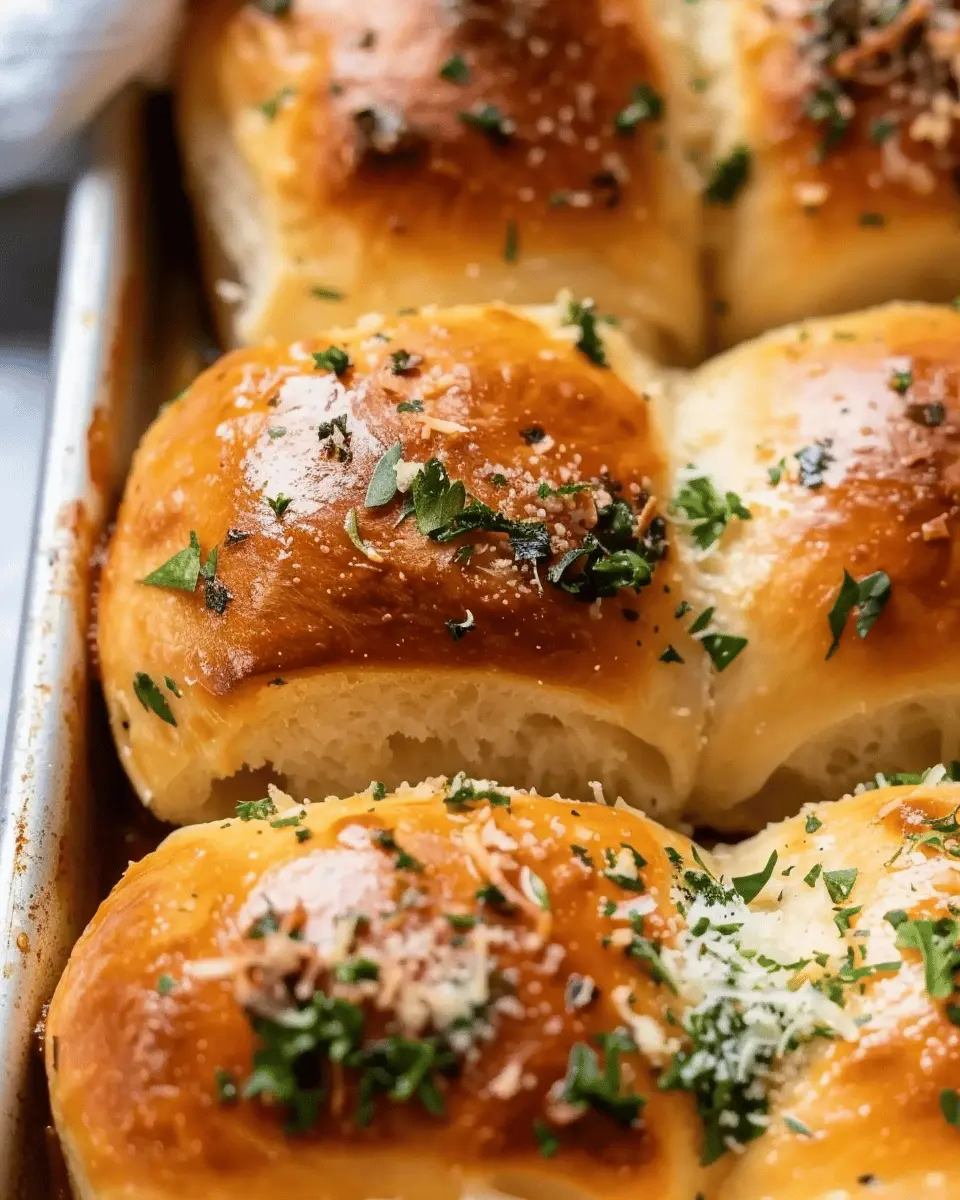
Another benefit is the satisfaction that comes from creating something yourself. Imagine pulling a tray of golden-brown rolls out of the oven, the enticing scent enveloping your senses. It’s not just about eating; it’s about the experience. Plus, your friends and family will be genuinely impressed. Who doesn’t love a homemade touch, especially when it comes to garlic bread rolls?
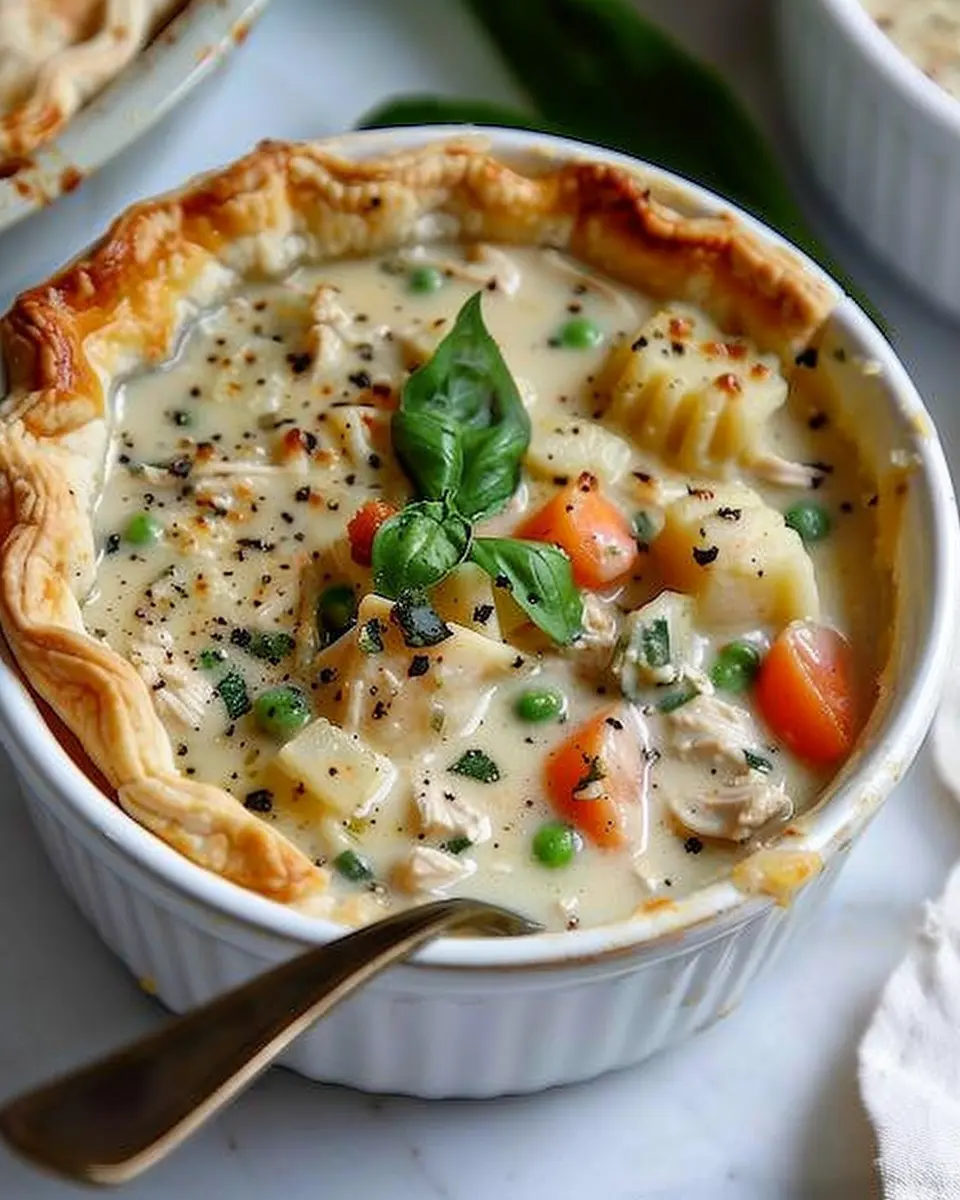
Let’s not forget about versatility! You can serve these rolls as a delightful appetizer, a side for your favorite pasta dish, or even as a base for mini sandwiches with fillings like turkey bacon or chicken ham. Need inspiration? Check out Serious Eats for tips on how to serve your rolls with various meals.
Did you know that garlic isn’t just for flavor—it’s also packed with health benefits? According to studies, garlic has been shown to boost your immune system and reduce inflammation. Incorporating it into your rolls not only tastes great but also adds nutritional value.
In essence, homemade garlic bread rolls are more than just a side dish; they’re a warm hug on a plate. Once you experience the joy of creating and savoring these rolls, you might find it hard to ever go back to store-bought. So let’s dive into the recipe and bring that comforting aroma to your kitchen!
Ingredients for Garlic Bread Rolls
Essential Ingredients for the Perfect Roll
Making delicious Garlic Bread Rolls starts with the right ingredients. For the best results, ensure you have:
- All-purpose flour: About 3 ½ cups, sifted for a light, airy texture.
- Active dry yeast: 1 packet (about 2 ¼ teaspoons) to help your rolls rise.
- Warm water: About 1 cup, making sure it’s not too hot to activate the yeast.
- Sugar: 2 tablespoons, feeding the yeast and enhancing flavor.
- Salt: 1 teaspoon for balancing the taste.
- Butter: ½ cup, melted, which adds richness.
- Garlic: 4-5 cloves minced, the star of the show.
- Parsley: Freshly chopped, about 2 tablespoons for a burst of color and flavor.
With these essentials, you’ll be well on your way to making rolls that everyone will love!
Optional Add-ins for Extra Flavor
Want to take your Garlic Bread Rolls to the next level? Consider these tasty options:
- Cheese: A sprinkle of shredded mozzarella or parmesan adds an extra layer of flavor.
- Turkey Bacon or Chicken Ham: For a savory twist, mix diced pieces into the dough.
- Herbs: Dried oregano or thyme can elevate the aroma and taste.
Feel free to experiment! The more you play around with flavors, the more you’ll discover what you love. If you’re curious about the nutritional benefits of garlic, check out this insightful Healthline article. Happy baking!
Step-by-Step Preparation of Garlic Bread Rolls
There’s something irresistibly satisfying about homemade Garlic Bread Rolls. Whether you’re prepping for a cozy dinner with friends or simply treating yourself to a delightful snack, these rolls are sure to impress. Let’s get started on making this garlicky goodness!
Gather Your Ingredients and Equipment
Before diving into the cooking process, it’s essential to gather everything you’ll need. Here’s what you’ll require:
Ingredients:
- 3 cups all-purpose flour
- 1 packet of instant yeast (approximately 2¼ teaspoons)
- 1 teaspoon salt
- 1 teaspoon sugar
- 1 cup warm water (110°F)
- ½ cup unsalted butter, softened
- 4-6 cloves of garlic, minced
- Fresh parsley or dried parsley flakes (optional)
- Grated cheese (optional for topping)
Equipment:
- Mixing bowls
- Wooden spoon or spatula
- Measuring cups and spoons
- A clean surface for kneading
- Baking sheet
- Parchment paper (optional)
Prepare the Garlic Butter
The star of our Garlic Bread Rolls is, of course, the garlic butter. To make it, simply mix the softened butter with the minced garlic in a bowl. If you’re feeling fancy, add some chopped fresh parsley to enhance the flavor and color. This garlic butter will not only be brushed on top of the rolls but can also be used as a dip.
Mix the Dry Ingredients
In a large mixing bowl, combine the flour, instant yeast, salt, and sugar. Whisk these dry ingredients together until they are well blended. Using instant yeast is fantastic because it doesn’t require proofing, which saves you time—perfect for busy professionals like us!
Combine Wet Ingredients with Dry
Now, it’s time to bring your dry mix to life! Gradually add the warm water to the dry ingredients. Using a wooden spoon, mix until the dough starts to form. It should be slightly sticky but should come together nicely. If you find your dough too dry, add a bit more water, a tablespoon at a time.
Knead the Dough to Perfection
Once combined, turn your dough onto a floured surface. Knead for about 8-10 minutes until the dough is smooth and elastic. To test the dough’s readiness, do the “windowpane test”: stretch a small piece of dough; if it doesn’t tear and allows light through, you’re golden! This process develops the gluten, crucial for achieving those fluffy rolls.
Shape Your Rolls
After kneading, divide the dough into small portions—about the size of a golf ball. Shape each piece into a round roll by tucking the edges into the center. Place them on a baking sheet lined with parchment paper, leaving some space between each roll to allow for rising.
First Rise: Letting the Dough Rest
Cover your shaped rolls with a clean kitchen towel and let them sit in a warm place for about 30-45 minutes. This step is critical as the yeast works its magic, making your rolls rise beautifully. The dough should roughly double in size.
Prepare for Baking
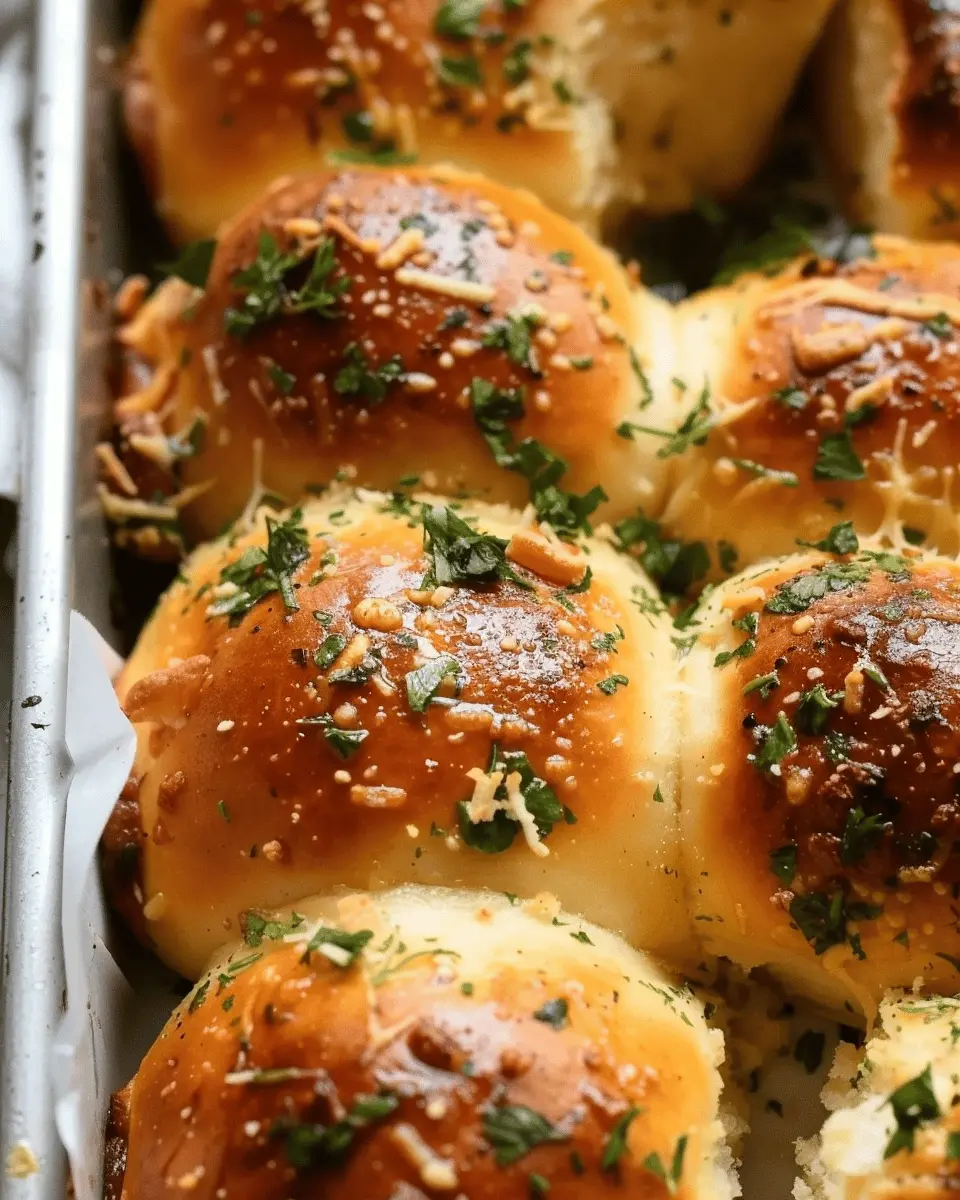
Preheat your oven to 375°F (190°C). Once your rolls have risen, it’s time to give them a generous brush with the prepared garlic butter. This not only adds flavor but also gives them a lovely golden sheen. Optional: Sprinkle some grated cheese on top for an extra layer of deliciousness.
Bake and Brush with Garlic Butter
Place your rolls in the preheated oven and bake for 20-25 minutes or until they’re golden brown. Once they’re out of the oven, brush them with any leftover garlic butter for that extra touch. The aroma will have your family and friends begging for the recipe!
Enjoy Your Homemade Garlic Bread Rolls!
With these steps, you’re well on your way to savoring warm, buttery Garlic Bread Rolls. They are perfect for pairing with soups, salads, or simply enjoying on their own! For more delicious recipes, check out AllRecipes or for baking tips, explore King Arthur Baking.
Happy baking!
Variations of Garlic Bread Rolls
Garlic bread rolls are versatile delights that everyone loves. If you’re eager to switch things up, here are a few fantastic variations to take your garlic bread rolls to the next level.
Cheesy Garlic Bread Rolls
Who doesn’t love a warm, gooey cheese pull? For cheesy garlic bread rolls, simply mix shredded mozzarella or cheddar into the garlic butter before spreading it. This addition makes each bite indulgently cheesy. You might even want to experiment with pepper jack for a little kick. Just remember to bake them until the cheese is bubbly and golden for that perfect finish.
Herb-Infused Garlic Rolls
Elevate your garlic bread rolls with a medley of fresh herbs! Incorporate chopped parsley, basil, or rosemary into the garlic spread for a fragrant twist. Not only do these herbs bring a fresh flavor, but they also add a beautiful burst of color. You can find some great herb combinations and ideas over at Bon Appétit. This variation pairs especially well with a homemade marinara sauce for dipping.
Spicy Garlic Rolls
If you’re a fan of heat, you won’t want to miss out on spicy garlic rolls. Add crushed red pepper flakes or a dash of cayenne pepper to your garlic butter mixture for a zesty surprise. You could even toss in some sautéed diced jalapeños for an extra punch. This spicy kick will truly enhance the flavor profile of your rolls and make them a hit at any gathering.
With these variations, your garlic bread rolls can cater to every palate. Why settle for the classic when a world of flavors awaits? So roll up your sleeves and let your creativity shine!
Cooking Tips and Notes for Garlic Bread Rolls
Measuring Ingredients Correctly
When it comes to baking Garlic Bread Rolls, precision is key. Make sure to use dry measuring cups for flour and liquid measuring cups for water or milk. Too much flour can lead to dense rolls, while too little can cause them to spread too much during baking. Consider using a kitchen scale for accuracy—1 cup of all-purpose flour typically weighs around 120 grams.
Best Practices for Rising Dough
Achieving the perfect rise for your Garlic Bread Rolls hinges on a warm environment. Aim for a cozy spot in your kitchen, perhaps near the oven or in a turned-off oven. Cover the dough with a damp towel or plastic wrap to retain moisture. Don’t rush the process; letting the dough rise until it doubles in size is crucial for that fluffy texture we all crave.
Storage and Freezing Tips
Leftover Garlic Bread Rolls? No problem! Store them in an airtight container at room temperature for up to 2 days. For longer storage, freeze your rolls wrapped in plastic wrap and then in aluminum foil. This way, they can stay fresh for up to three months. To enjoy, just thaw and warm them in the oven or microwave—easy peasy!
For more detailed tips on baking and storing, check out The Kitchn’s guide to bread storage. Happy baking!
Serving Suggestions for Garlic Bread Rolls
Pairing with Soups and Salads
Garlic bread rolls are a fantastic addition to your favorite soups and salads. Imagine dipping a warm, buttery roll into a hearty tomato basil soup — it’s a match made in comfort food heaven! You can also enjoy these rolls alongside a crisp Caesar salad. The combination of flavors enhances your meal, making it satisfying and delicious. Check out this article on soup pairings for more inspiration on harmonious flavors.
Using as a Side with Main Dishes
Looking to elevate your dinner experience? Garlic bread rolls can serve as a delightful side for various main dishes. Picture them next to a plate of chicken ham pasta or alongside your favorite beef stir-fry; they work beautifully with just about any dish, soaking up all the savory juices and sauces. Pro tip: serve them warm with a side of marinara or herb-infused olive oil for an extra layer of flavor. This twist not only enhances your main dish but adds a touch of indulgence to your dining experience.
Incorporating garlic bread rolls into your meals is an easy way to bring warmth and flavor, perfect for impressing guests or enjoying a cozy night in!
Time Breakdown for Garlic Bread Rolls
Preparation Time
Making these delightful Garlic Bread Rolls is a breeze! Expect about 15 minutes for preparation. This includes gathering your ingredients and mixing everything together.
Rising Time
Patience is a virtue—allow the dough to rise for about 1 to 1.5 hours. This step is crucial as it helps develop the texture and flavor.
Baking Time
Once risen, baking these rolls takes approximately 20 minutes. You’ll want them golden brown and deliciously aromatic, filling your kitchen with that irresistible garlic scent.
Total Time
In total, you’ll need roughly 2 to 2.5 hours, with most of that time being passive. Relax and enjoy the process! Want to know more about rising times? Check out this handy guide on bread making techniques.
Nutritional Facts for Garlic Bread Rolls
Garlic Bread Rolls offer a delicious indulgence without derailing your healthy eating habits. Let’s break down the essentials you should know.
Calories per Roll
Each Garlic Bread Roll typically contains around 150 calories. While they are a tasty treat, moderation is key to keep your meal balanced and satisfying.
Breakdown of Nutrients
In addition to calories, these rolls provide:
- Carbohydrates: About 25g per roll – a good source of energy.
- Fat: Roughly 5g, mostly from olive oil or butter, which are healthy fats.
- Protein: Contains about 4g, depending on added toppings like cheese or turkey bacon.
For more detailed nutritional insights, you might want to check out resources from the USDA.
Dietary Considerations
Garlic Bread Rolls can cater to various dietary preferences. They can be easily modified to be vegetarian or vegan by swapping dairy and using plant-based butter. Just remember that those with gluten sensitivities should opt for gluten-free bread options to enjoy this delicious side without discomfort.
These Garlic Bread Rolls are not just comforting; they fit well into diverse meal plans, making them perfect for young professionals looking to savor their meals without the guilt. What’s your favorite way to enjoy garlic bread?
FAQs about Garlic Bread Rolls
Can I make the dough ahead of time?
Absolutely! Preparing the dough for your Garlic Bread Rolls in advance can be a real time-saver. Once your dough is mixed and kneaded, you can let it rise until doubled in size, then punch it down. From here, you can shape the rolls and either cover them tightly in plastic and refrigerate for up to 24 hours or freeze them for later use. Just remember, if you freeze them, allow them to thaw in the fridge overnight, then let them rise at room temperature before baking.
What if my rolls don’t rise?
It can be frustrating when your Garlic Bread Rolls don’t rise as expected. This could happen for a few reasons:
- Yeast Quality: Make sure your yeast is fresh and has been stored properly. Active dry yeast should bubble in water before use.
- Temperature: If your kitchen is too cool, the dough may take longer to rise. Try placing it in a warm spot, like near an oven that’s been preheated and then turned off.
- Kneading: Insufficient kneading can lead to weak gluten structure, affecting the rise. Aim for a smooth, elastic dough.
If you encounter this issue, don’t despair; sometimes a little extra loving care is all that’s needed!
How do I store leftover garlic bread rolls?
If you’re fortunate enough to have leftovers after enjoying your Garlic Bread Rolls, storing them properly is key to maintaining flavor and texture:
- Room Temperature: Keep them in an airtight container for up to two days.
- Refrigeration: If you want to keep them longer, they can last in the fridge for about a week.
- Freezing: For longer storage, freeze them in a single layer on a baking sheet, then transfer to a freezer bag. They can last up to three months!
For additional insights on dough storage techniques, check out this resource on King Arthur Baking’s website. Happy baking!
Conclusion on Garlic Bread Rolls
The Joy of Homemade Garlic Bread Rolls
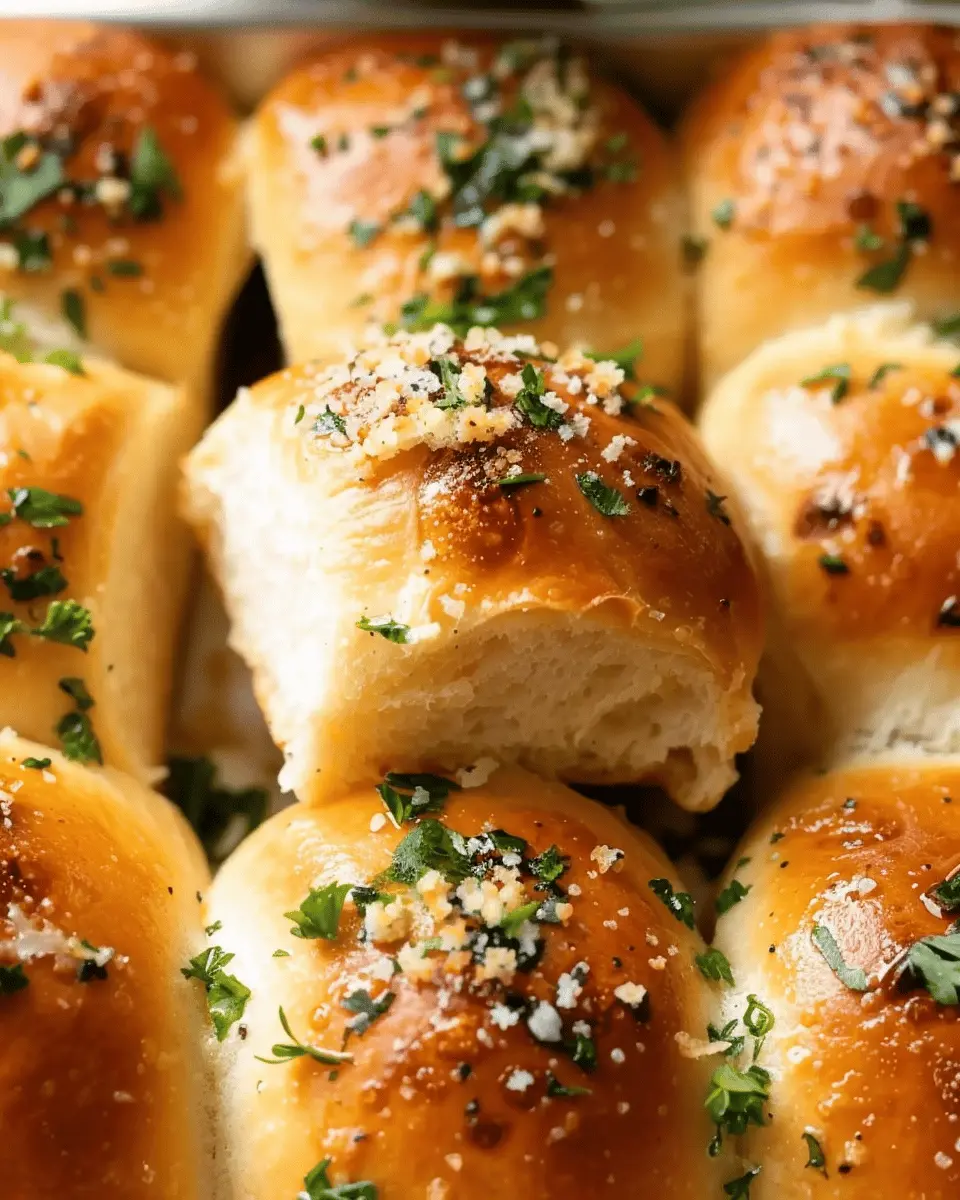
Making Garlic Bread Rolls at home is not just about the delicious taste, but it’s also about the joy of sharing with loved ones. Imagine pulling a warm batch from the oven, the aroma enveloping your kitchen and igniting fond memories. Homemade rolls offer that perfect blend of crusty exterior and soft inside, making them the ideal accompaniment to any meal.
Plus, you can personalize your recipe to suit your family’s taste! Want to add a touch of heat? Toss in some red pepper flakes. Looking for a twist? Experiment with fresh herbs like basil or parsley.
So why not whip up a batch? Enjoy the process and savor the satisfaction that comes from baking something truly special. And remember, each roll represents a moment of connection—both with your food and those you share it with. Ready to give it a try? Check out this detailed guide on making your own Garlic Bread Rolls[1] and embrace the deliciousness!
[1]: Love and Lemons
PrintGarlic Bread Rolls: The Best Homemade Delight for Any Meal
Indulge in the soft and buttery goodness of garlic bread rolls, perfect for any meal!
- Prep Time: 15 minutes
- Cook Time: 25 minutes
- Total Time: 1 hour 40 minutes
- Yield: 12 rolls 1x
- Category: Bread
- Method: Baking
- Cuisine: Italian
- Diet: Vegetarian
Ingredients
- 1 cup warm water
- 2 tablespoons sugar
- 2 1/4 teaspoons active dry yeast
- 3 tablespoons olive oil
- 1 teaspoon salt
- 3 cups all-purpose flour
- 4 cloves garlic, minced
- 1/4 cup unsalted butter, melted
- 1/4 cup fresh parsley, chopped
Instructions
- In a bowl, combine warm water, sugar, and yeast. Let it sit for 5 minutes.
- Add olive oil and salt to the yeast mixture. Stir in flour gradually until a dough forms.
- Knead the dough on a floured surface for about 8 minutes until smooth.
- Place the dough in a greased bowl, cover it, and let it rise for 1 hour.
- Punch down the dough and divide it into equal portions.
- Shape each portion into a roll and place them on a baking sheet.
- Cover the rolls and let them rise for another 30 minutes.
- Preheat the oven to 375°F (190°C).
- Mix melted butter, garlic, and parsley; brush over the rolls.
- Bake for 20-25 minutes until golden brown.
Notes
- Use fresh garlic for the best flavor.
- These rolls are best served warm.
Nutrition
- Serving Size: 1 roll
- Calories: 150
- Sugar: 1g
- Sodium: 200mg
- Fat: 7g
- Saturated Fat: 4g
- Unsaturated Fat: 2g
- Trans Fat: 0g
- Carbohydrates: 19g
- Fiber: 1g
- Protein: 3g
- Cholesterol: 15mg
Keywords: Garlic Bread Rolls, Homemade Rolls, Garlic Butter Rolls